CNC joint skill builder… no glue just slip lock and load

FirePlaceToolRack Joint System

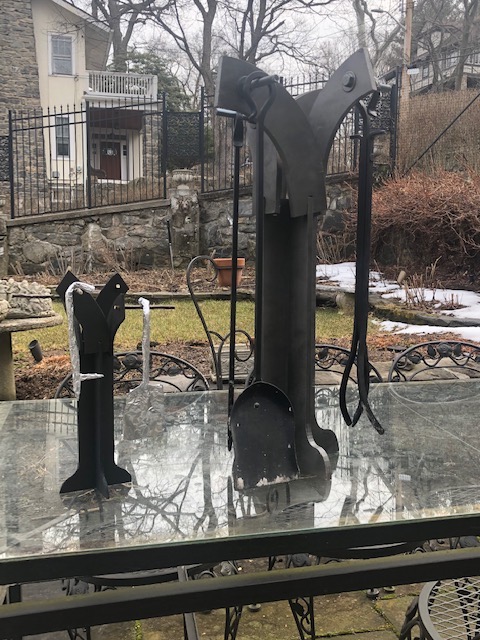
FirePlace Tool Rack assembled
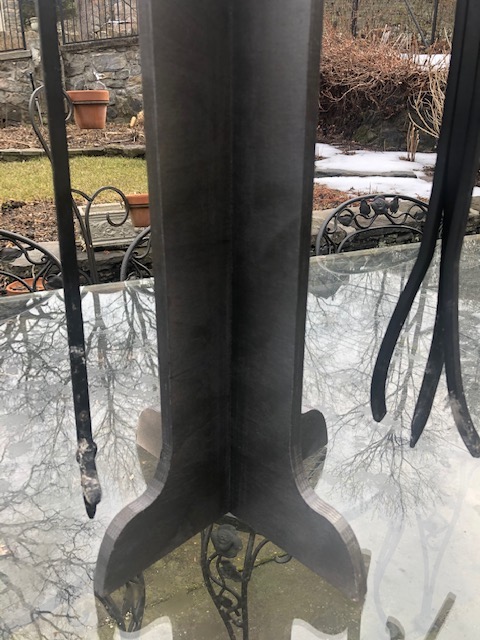
the cruciform of the base tree trunk

Cruciform Trunk Base
attached to Chinese Swastika Tree Branches clockwise
attached to Bolt Stems counter clockwise
This allows the cantilever load to be centered over the vertex of the cruciform trunk
1 1/4″ depth Branches/trunk Lap Slotted Joint

Midpoint to Midpoint + 1/4″ bit
Lap Slotted Joint
Detail
Detail
Trunk Slotted Lap Joint Detail
Branch Slotted Lap Joint detail
2 of the Branches could not fit into slots because of the geometry of adjacent Branches
Need to offset Branches, adjust the angle of slot so that they bypass each adjacent Branch
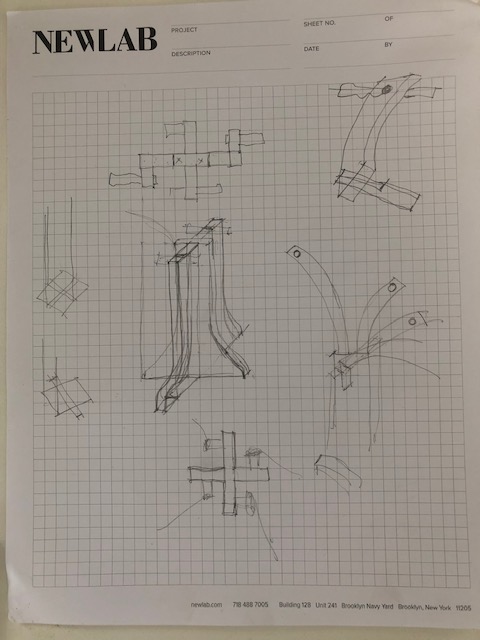
Sketch Detail

First CNC skill builder

Workshop CNC

Vectorworks Drawing

Intro to MasterCam

Rushali Introduced us to MasterCam

Opened DWG

opened my drawings and F9 to locate in upper right quadrant
clockwise arrow for outside cut.
arrow red not green- this is where I got concerned that polygon has problems as well as the extra line though circle drill hole
looked as axonometric drawing and still see some concern extra lines

Continued to to set up MasterCam

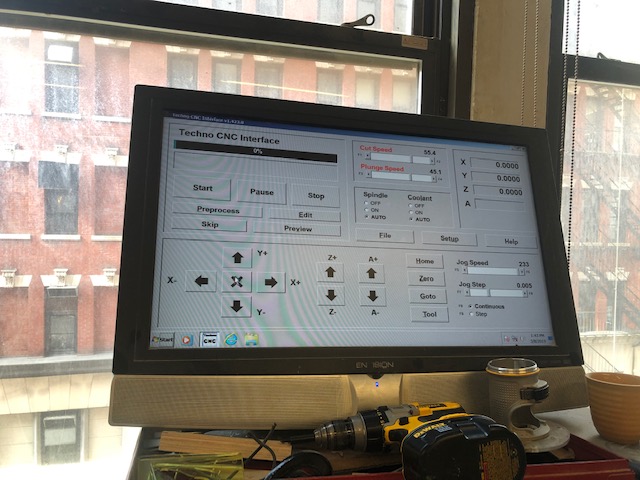
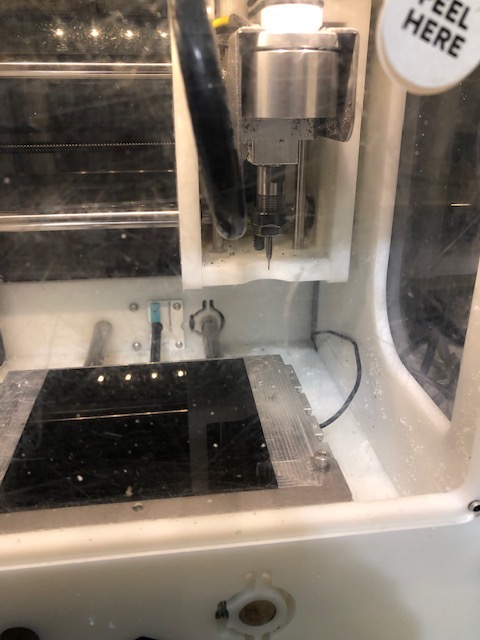
Inserted thumb drive into Techno CNC Interface

opened file
drawing wouldn’t load
inserted a drawing from Rushali to perform CNC operation
preview and set up to run
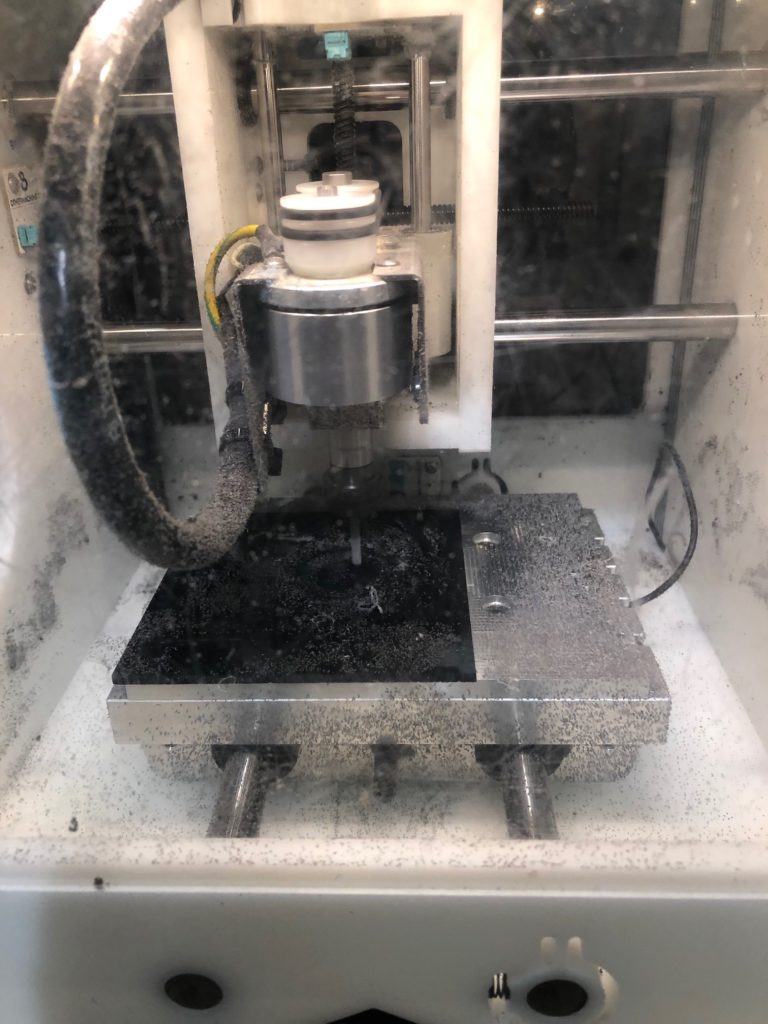
set up XYZ origin and ran program

This is all the documentation I have. I did not keep the test piece sample or documented the cutting.

Final Project-Fire Place Tool Rack / CNC Machine

Concept: A stylized tree like form/no glue / repetition of 2 forms only
The offset of the base cruciform shape and the brackets for the tool holder would create more stability
Concern for the connections to hold weight of tools. Displacement/Distribution

1/2 Scale Model

1/4″ foamcore model material. Produce a 1/2 scale model to explore design, proportions, and joints
Traced first cutout to duplicate
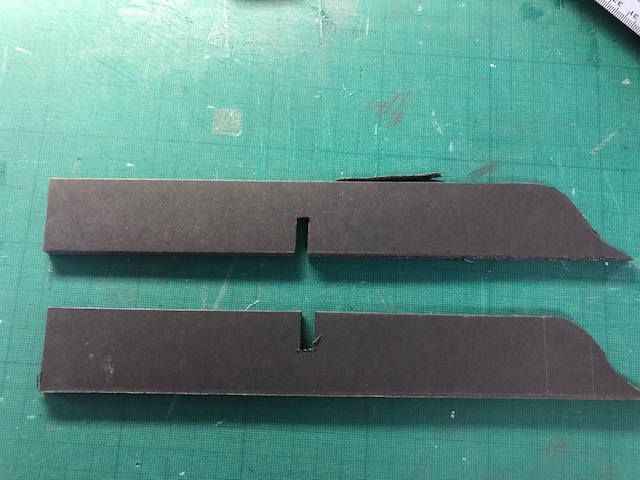
Center slot at mid point
mockup for slip joint
insert
Creating bracket branches. Same mockup operation as tree trunk base to duplicate 1 shape.
mockup of bracket branches on base trunk


By changing the angle of the slot in the bracket branch the branches become more animated even though they are all identical.
The offset of each bracket branch slot need to be towards outside of base trunk. This allows each bracket branch to be clear of adjacent branch bracket.
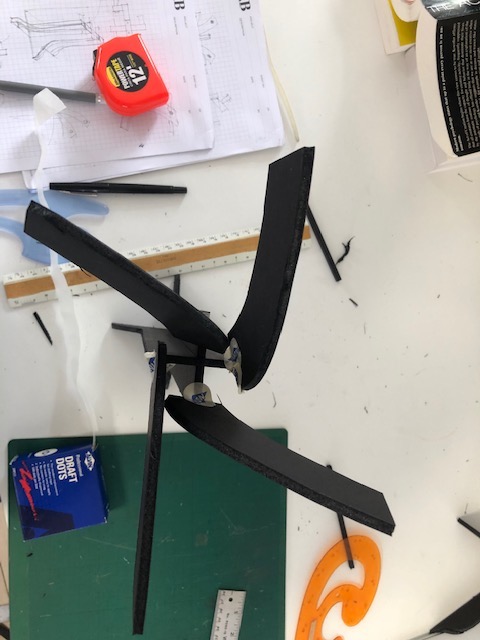
Finish the model and add tree twigs for tool hangers

VectorWorks CAD

Full Scale Prototype

MasterCam

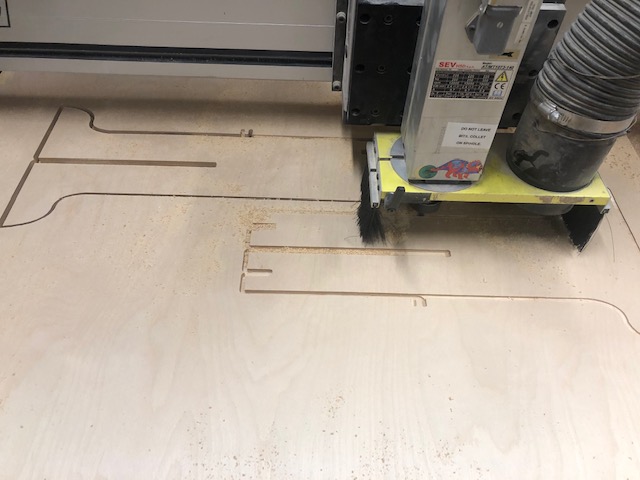
Cutting on Cam

Fireplace Tool Rack

OtherMill – Piece within a Piece – Inlay

This exercise is to take two pieces of plexiglass, one clear and one opaque and cut to create a tight inlay

An earlier sketch on Adobe Illustrator
VectorWorks Sketch
Cutout for outside material
Cutout for inside material
Overlay of both outside plexiglass and inlay plexiglass. The two do not align, but not a concern because these are 2 different operations on 2 diferent materials.
Bantam open and USB connected to OtherMill
Clear plexiglass Mounted
Cutting clear plexiglass for inlay
Mount on OtherMill outside opaque frame for inlay
Cutting outer frame for inlay. Twice time to complete with shallow cuts on each pass?
Final inlay

Try the handheld Router

Original sketch for radial arm coordinates

router art

Draw a sketch and set the radius parameters of the arm pins

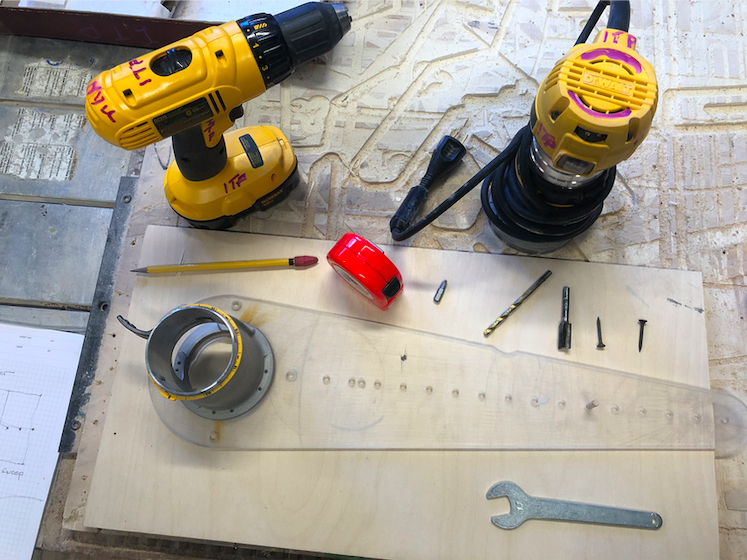
The Tools

The Board

The Idea

The Art

Tools used and plywood scrap to router

Setting the 3 radial pin points. 2″x2″ 4″x4″ 6″x6″

First radial router cut at 2″x2″ pin and first hole in template

2nd radial router cut 6″x6″ pin and 6th hole in template

continue to adjust the pin point and radial arch for router cut

add depth of router cut along radial path of router cut